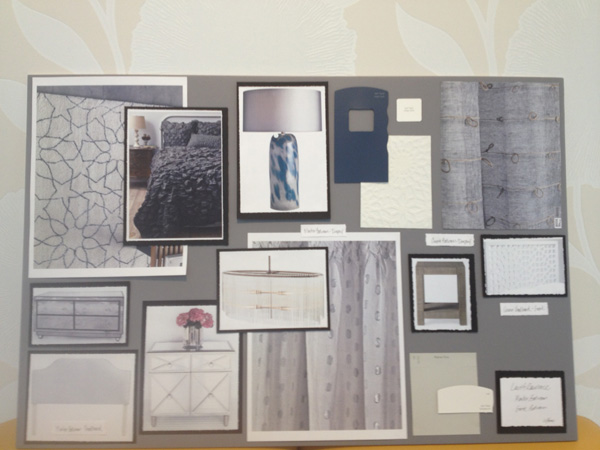
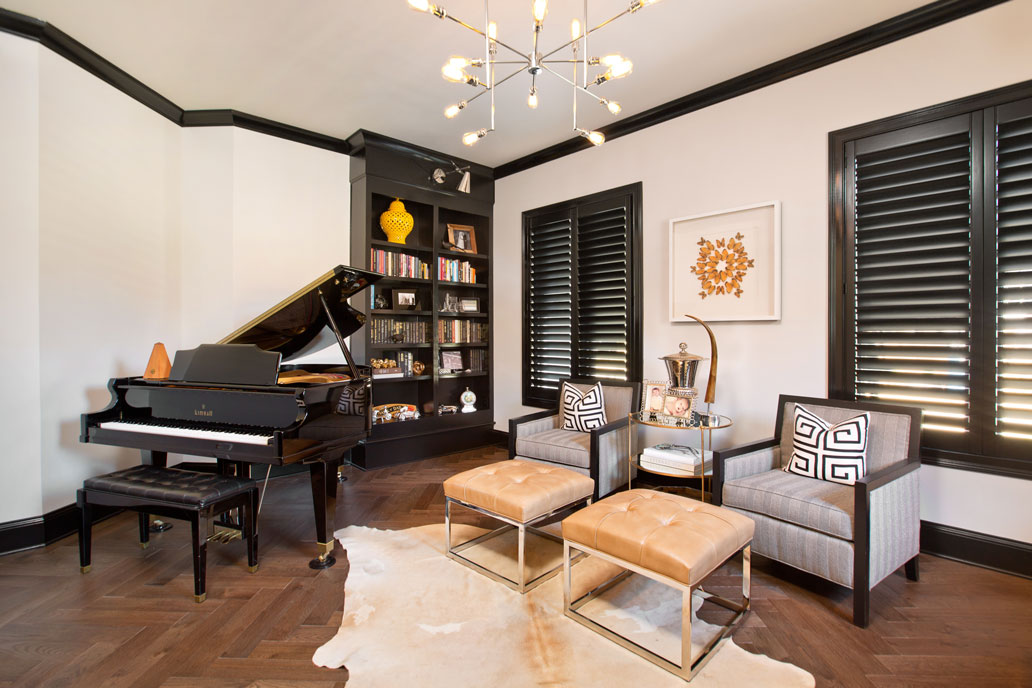
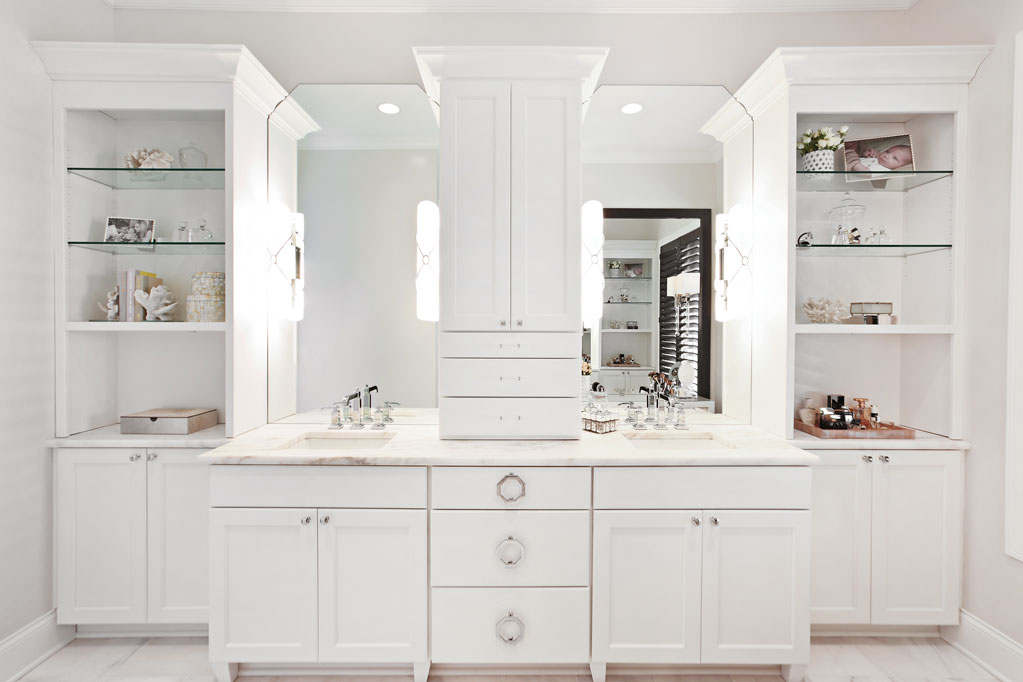
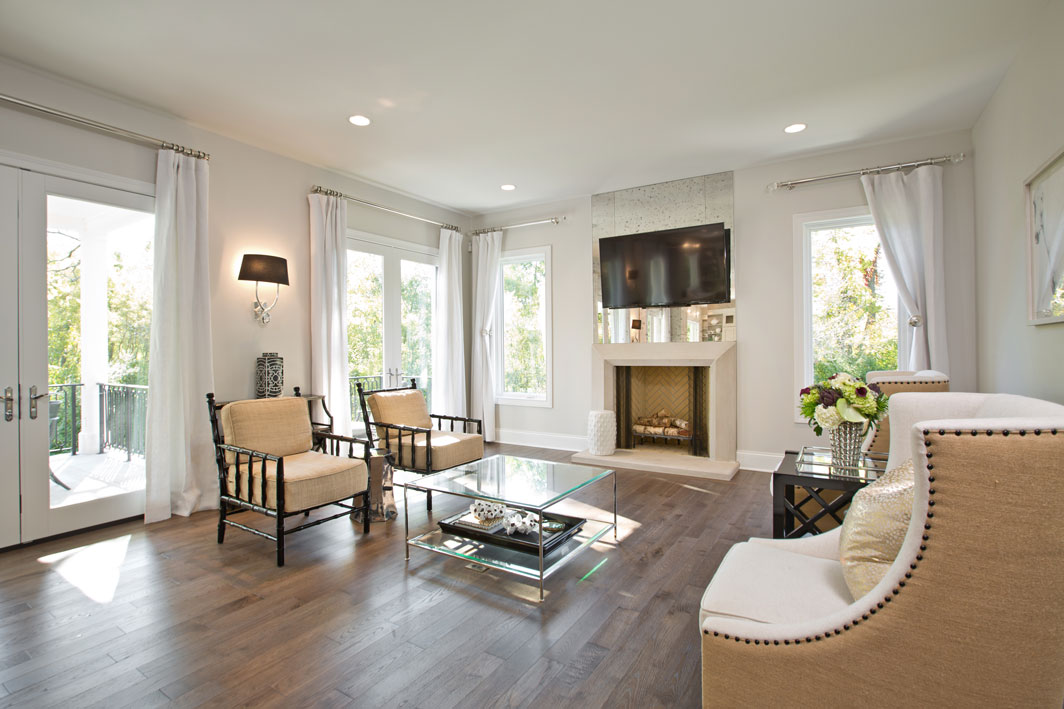
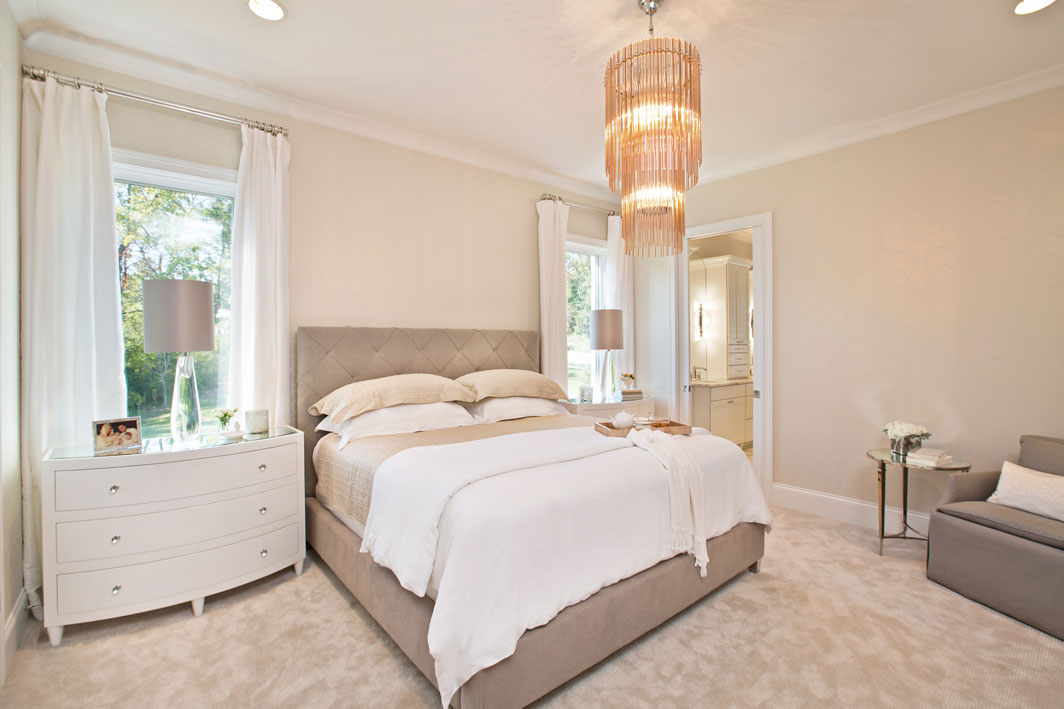
One of the first things we do when starting a new design project is create a design board. When working with a client, this comes after we get a general feel for the look they envision as well as their needs for the space. A design board is a great starting point for any design work, serving as a place where you can collect inspirational images, fabrics, product images, color swatches and more.
While they’re great for working with clients, you can make your own at home for your next interior design project!

The first thing you’ll want to do is gather your images. Those stacks of magazines you’ve been hoarding? Break them out and tear out all of the images that stand out to you. Once you’ve done that, the magazines are ready to be donated or recycled. Bonus: you’ve just cleaned out some clutter!
Pinterest can also be a great place to find images. Follow interior designers, magazines, and other ‘pinners’ that you enjoy and search their boards for inspiration. You can also find specific images using the search tool using terms like “White kitchen” or “Kid’s playroom“.

Next, prepare the images by cropping them physically or using a resizing tool on your computer.
Now it’s time to get crafty. Start with a foam board, we usually get ours from Hobby Lobby. The gray color made the perfect back drop for our selections on this project!

From there, mat the images with another neutral color to really make the pop.
After that, apply them to the board using tape or velcro to each image. The velcro makes it easier to change out images, say for example if a client (you!) wants to see more sofa options.

Finally, add a few labels for notes or reference points like where in the room you plan to use a particular fabric or wallpaper.

And there you have it! Your very own professional style interior design board.

Pingback: Interior Design Board - Home Designs